COMPLETING THE FINISHING DETAILSThe finishing part took the longest time for the whole project to finish. Not only was it difficult, but it was also time consuming and really tests your patience. The detail that it requires to finish it as intended cannot be rushed and require fluid and consistent hand movement.
The finishing part consists of the following:
- Hardwood Side Panel finishing
- Wooden baseplate finishing
- Flush-mounted magnetic grill
- Labeling decorations
- Extra Accessories
- Sanding/Buffing/Waxing
- And bolting everything to place
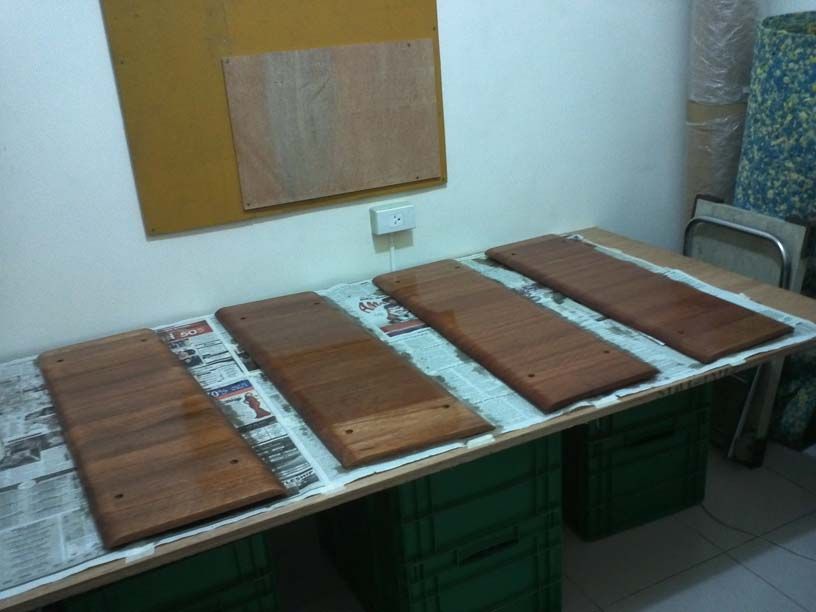
Here the side panels are coated with sanding sealer. I actually preferred not to use this, because it was an added procedure, it would add to the total expense, and they say that it decreases the durability of the topcoat. But for this project this was needed, based on my testing and experimentation, so that the curves in the side panels would have a uniform color/depth with the rest of the wood (it has more wooden pores in that area so it absorbs more stain and or paint). The only cons of this extra procedure, other than the extra effort/time, was that it lessened the visibility grain variations of the wood, so the grain patterns are smoother now and way less visible, which I sadly did not favor.
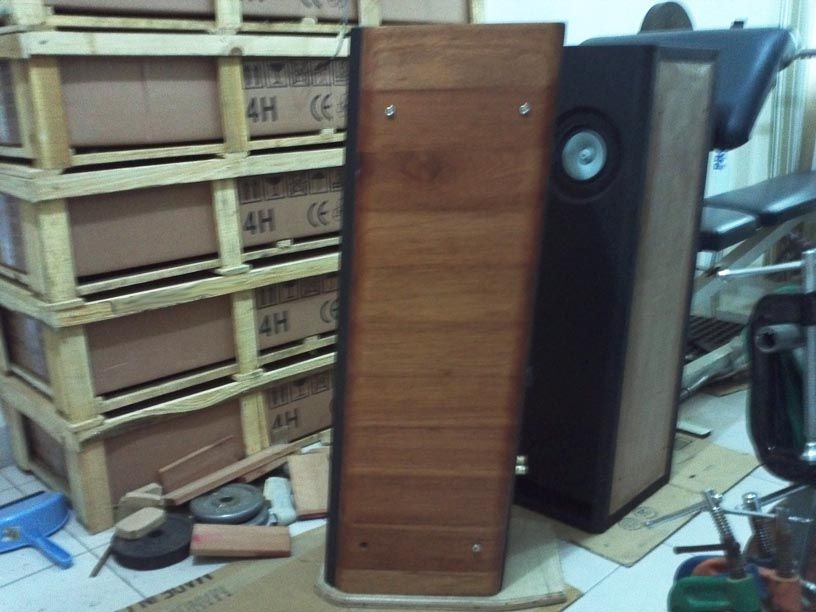
Sample mock-up in enclosure (not yet sanded). I actually liked the "walnut color" look. But for now I'll stick to the original plan of cherry wood color. I'll probably make one in the future

:
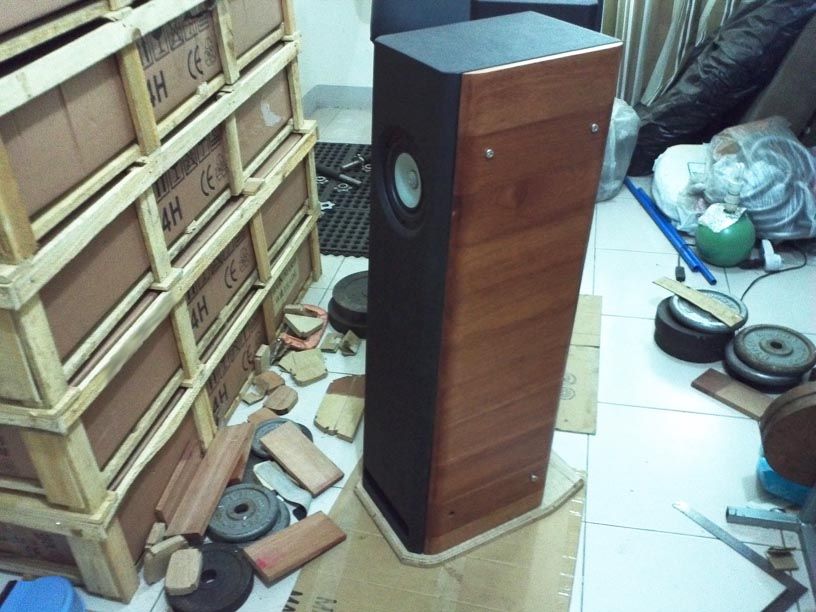
I deliberately put the plank with a circular wood grain pattern on the top portion of this finished side panel, because I thought of it as a "birth mark" and showed the sign of the beauty of wood and its natural characteristics:
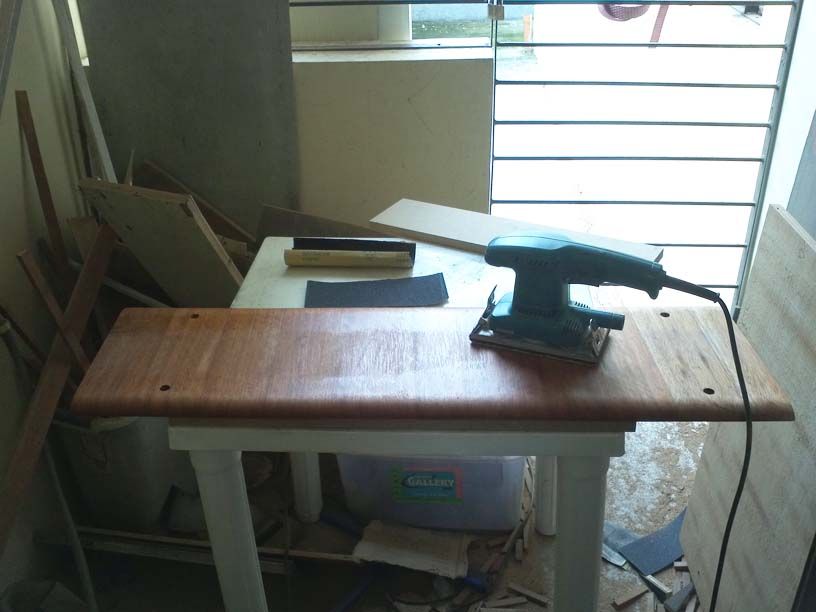
Upon drying, excess sanding sealer was removed by sanding:
Side panels were then stained with cherry color. It was not easy because the panels (planks) were not all the same shade/color, so I had to adjust some of the parts with more layers of stain or a "dirty wipe", which I actually didn't really favor because the more layers of stain, the more it hides the grain patterns of the wood. It was then coated with polyurethane topcoat. For now I had coated a total of 4 coats, with light sanding in between coats. I intend the final phase to have a coat of 12-15 for a glass-like effect. But all-in-all, for now, I was happy to do such a good job for a first timer:
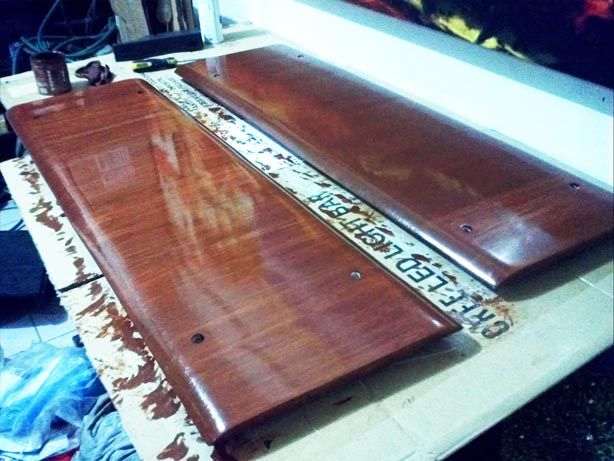
Here are some pictures of the finished side panels (well, sort of, since it's only 4 coats and haven't been polished yet):
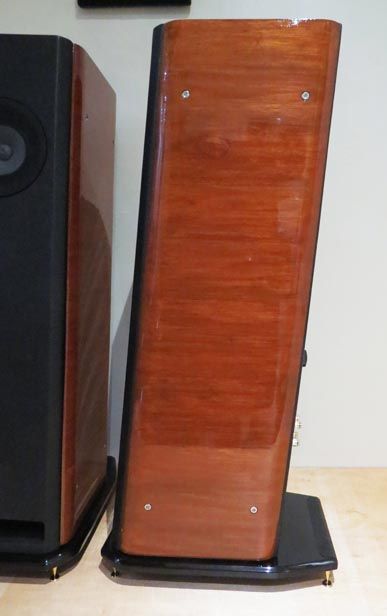
The color of the side panels vary depending on the angle and lighting. If the room is dark, it looks like dark cherry wood. But when it is well lit, the panels come alive and display their grain patterns with an orange-amber glow (probably due to the oil polyurethane used);
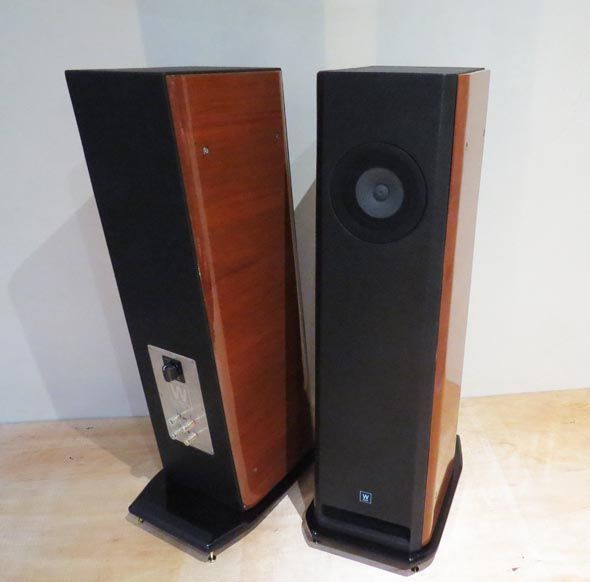
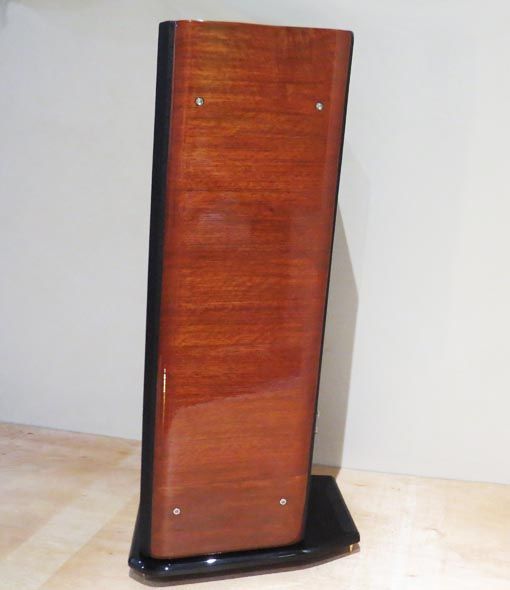
This is one is my favorite panel (all of the panels have slightly different wood patterns because they didn't come from the same tree). The pattern looks like tire tracks when perfectly angled with light (Best to see it personally, the pictures look lame in comparison):
CREATING THE FLUSH-MOUNTED MAGNETIC SPEAKER GRILLIn creating the speaker grill, the following were my conditions in making them:
- I didn't want any screws to be seen nor any pegs used (hence holes in the speaker cabinet)
- the grill must be flush-mounted. I didn't like the idea of a grill that's just on top of the cabinet. I want to the front facia to be dead-flat
- the speaker cabinet must still look complete even when the grill is removed
- the speaker grill must have a very sound-transparent cloth but at the same time be able to protect the speaker from accidental "poking" and dirt, AND still visibly show how the drivers look (sumisilip)
The grills are cut using a router and a circle jig guide on a 1/2" recycled plywood:
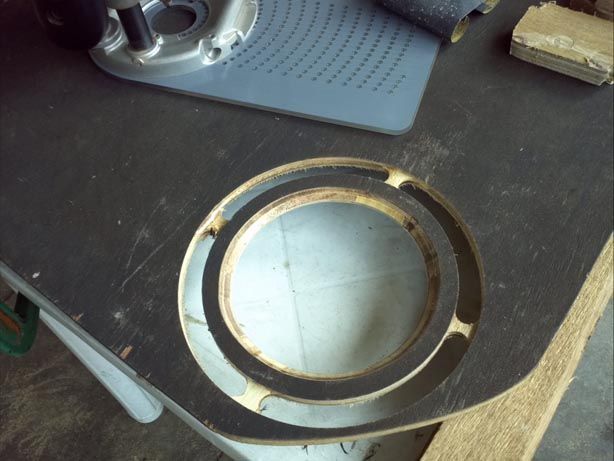
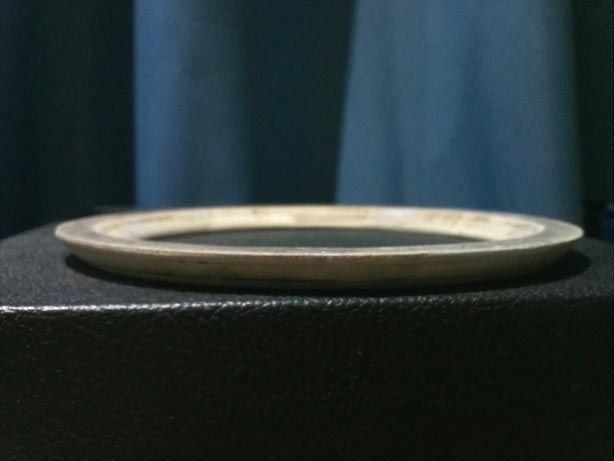
I beveled both the inner and outer part of the grill using a router, which was a bit tricky, considering how small and thin the wood already is, and at the same time must perfectly fit the also beveled speaker hole of the cabinet enclosure:
Here is a picture of the enclosure without the speaker grill (beveled flush-mount):
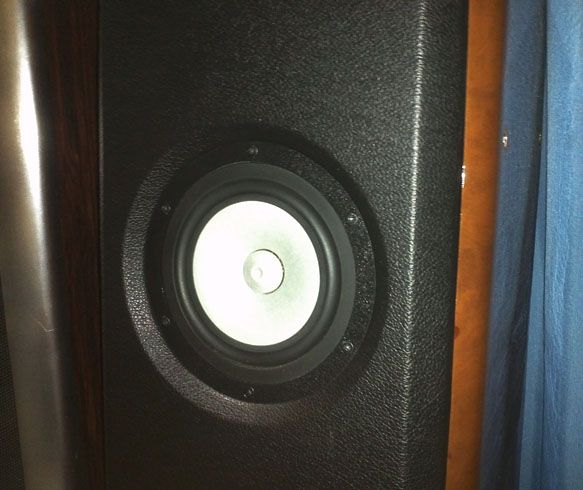
It is then sanded, plastered (for imperfections), and then painted flat black. Surface holes are then drilled where the small neodymium magnets are attached (with adhesive), which are perfectly aligned with the screw holes of the driver. I made sure that the neodymium magnets did not interfere with the speaker drivers, luckily they didn't:
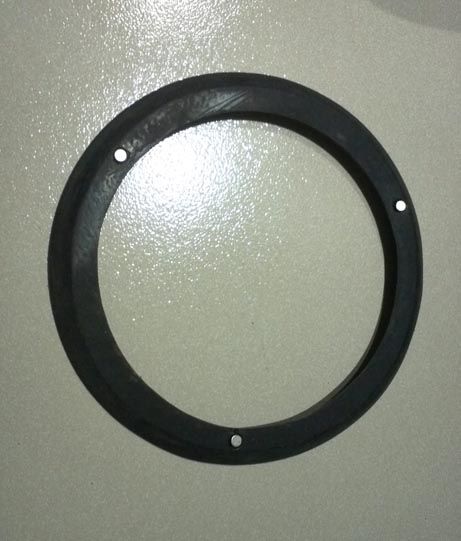
Making sure the grill fits the beveled hole perfectly:
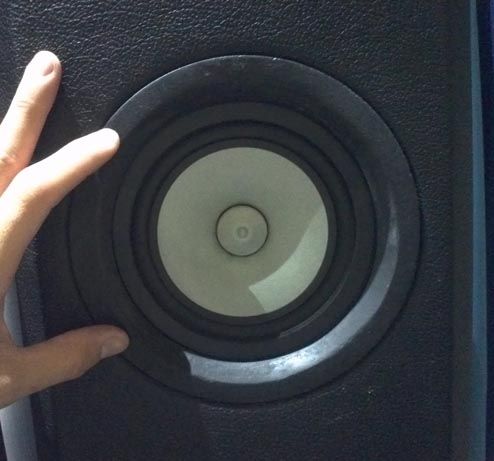
Added sound-transparent mesh-type stretchable cloth and stapled them at the back:
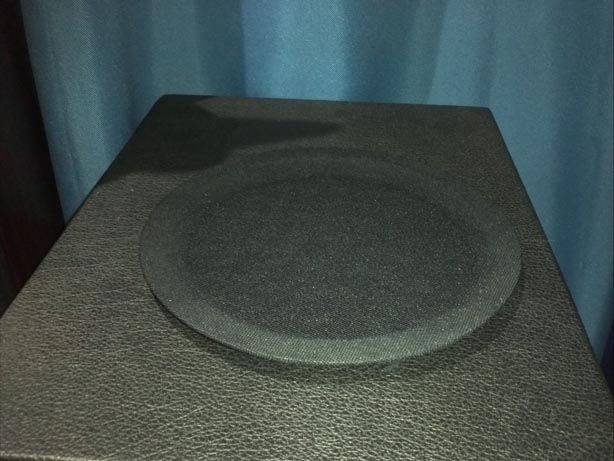
Here you can see that the drivers are still partially visible even when the grills are attached:
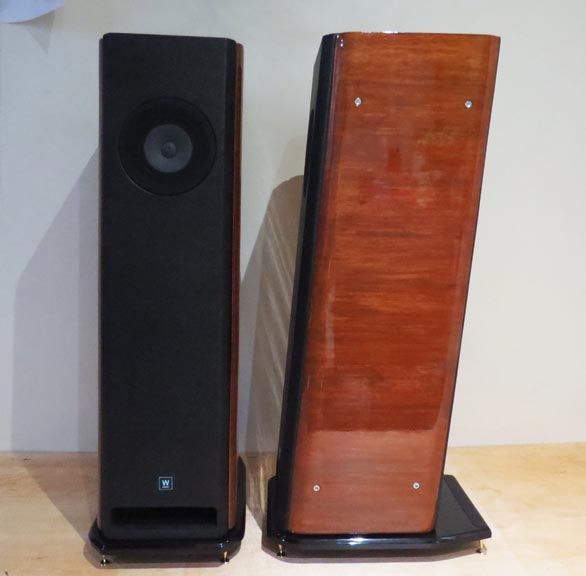
At a certain angle, the speakers grills holes go black:
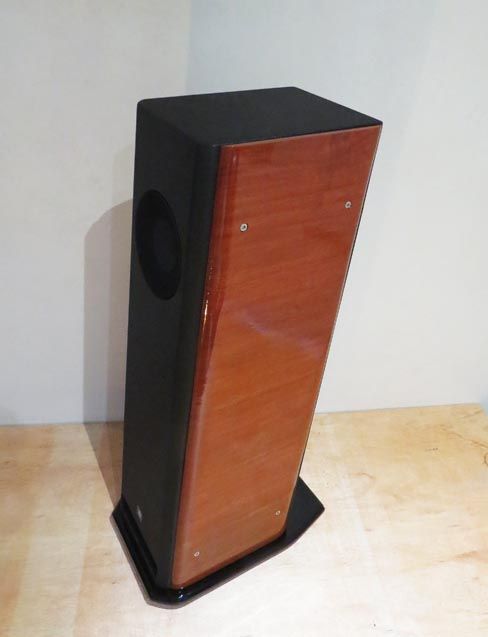
For now, I still have to adjust the neo magnets, since the grills are slightly still protruding by around 1-1.5mm. Konti na lang, hindi pa nagflush
 FINISHING ACCESORIES
These are not required but however add to the details and value to the whole project
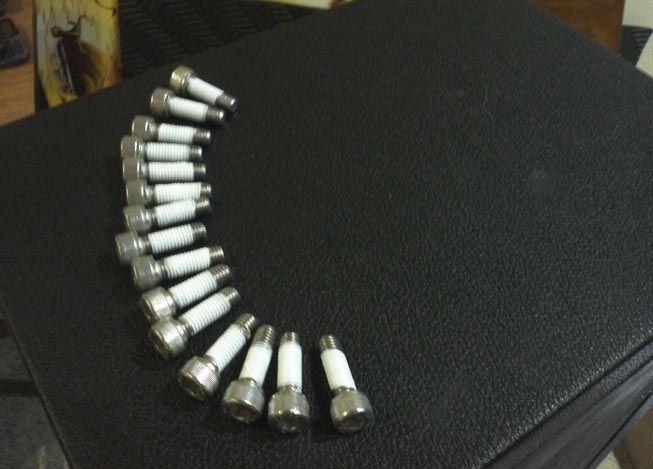
All-stainless hex bolts for the side panels, wrapped with teflon to prevent any air from possibly escaping in the holes of the T-nuts. Would you believe just these bolts already cost P600+? :p
Rear speaker terminal plate added with labels for a more professional look:
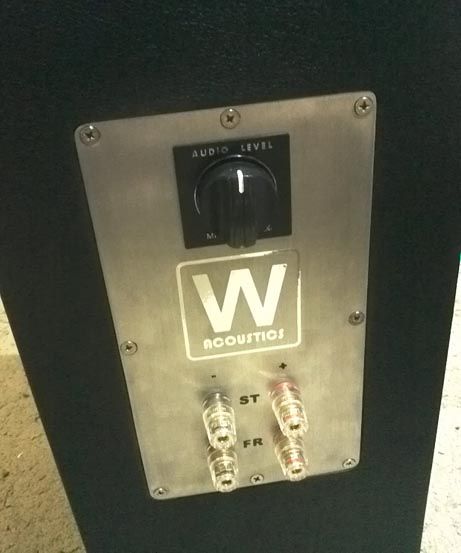
I will upgrade the front logo with brushed aluminum and create DIY pure solid copper jumpers for the rear binding posts:
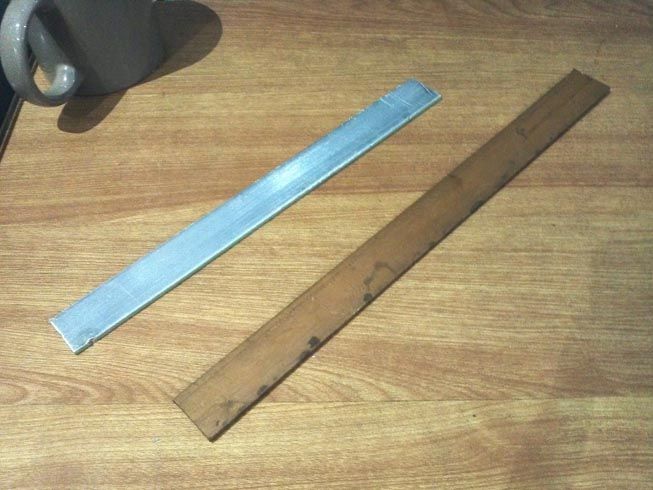
Aluminum and copper sheets cut to size:
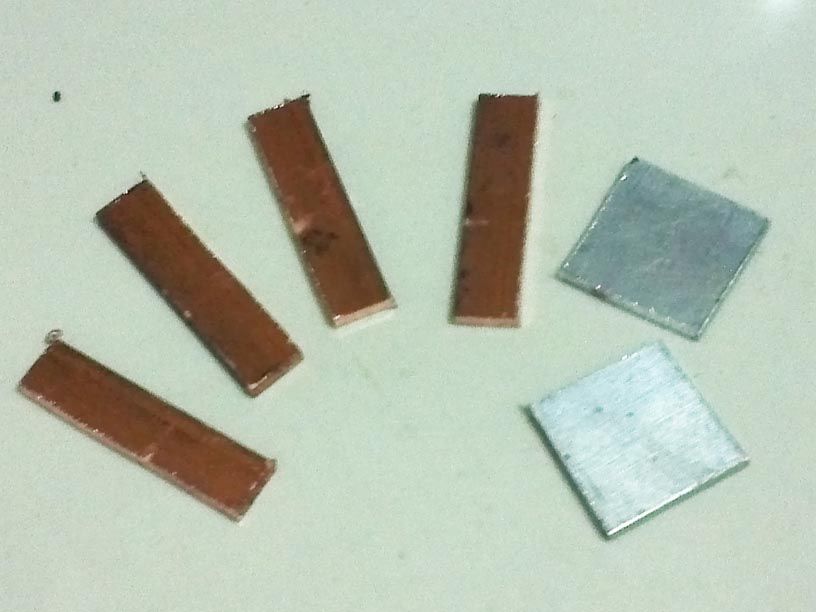
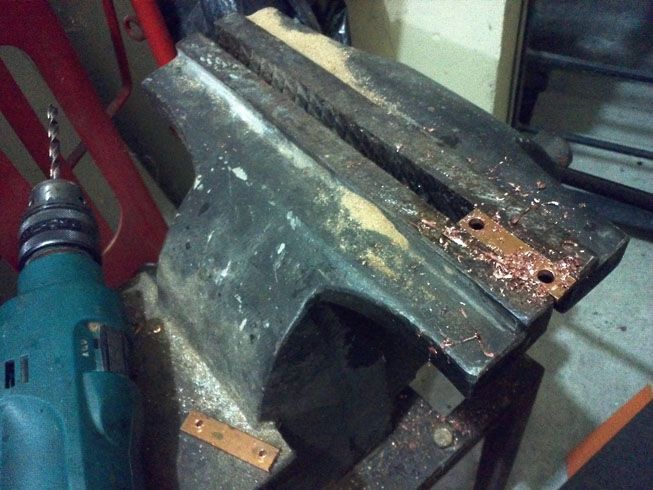
Copper strips are clamped then drilled:
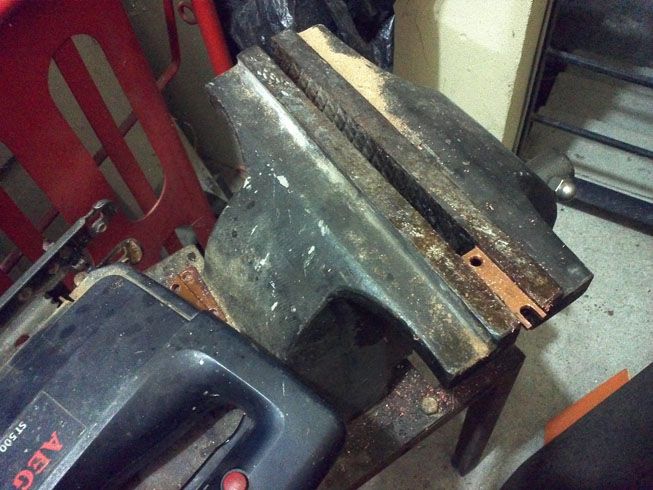
They are then cut using a jigsaw with metal bit:
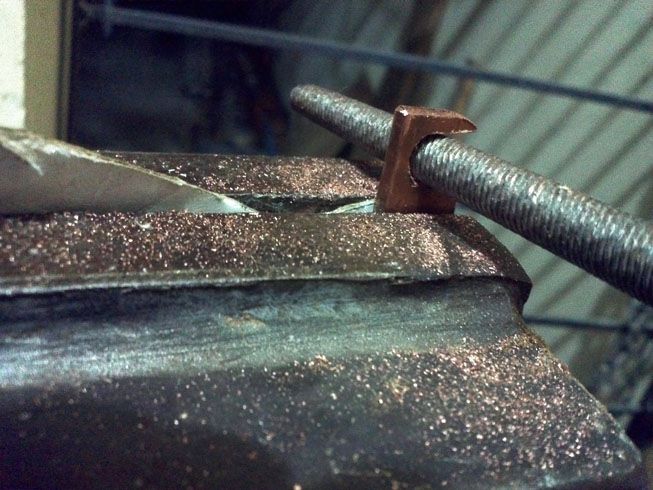
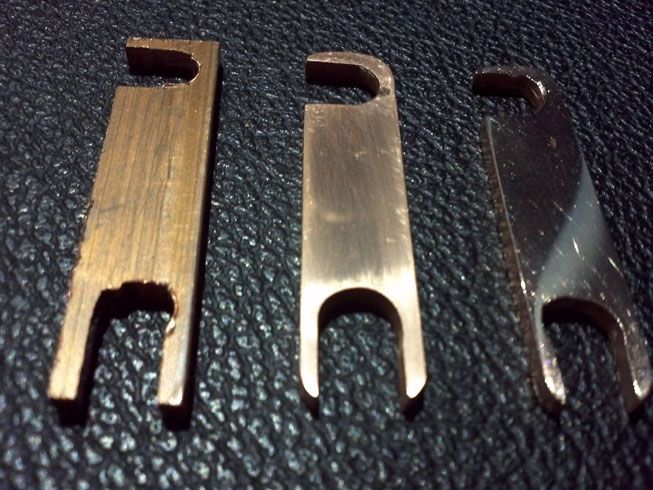
Now the fun (and hard) part: manually filing each one until they fit the binding posts perfectly:
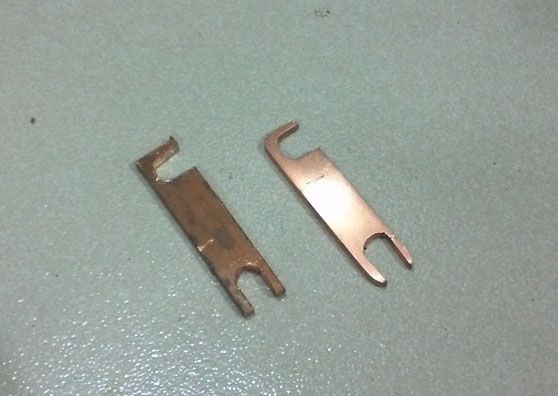
Before and after picture (Right piece has been filed and sanded with 240, 400, 800, 1500, and 2000 grit):
Evolution of the copper jumper (raw, sanded, and buffed with rubbing compound). Note that there are still some scratches with the buffed copper jumper, it is easily scratched even when just wiping with cloth! So be careful :
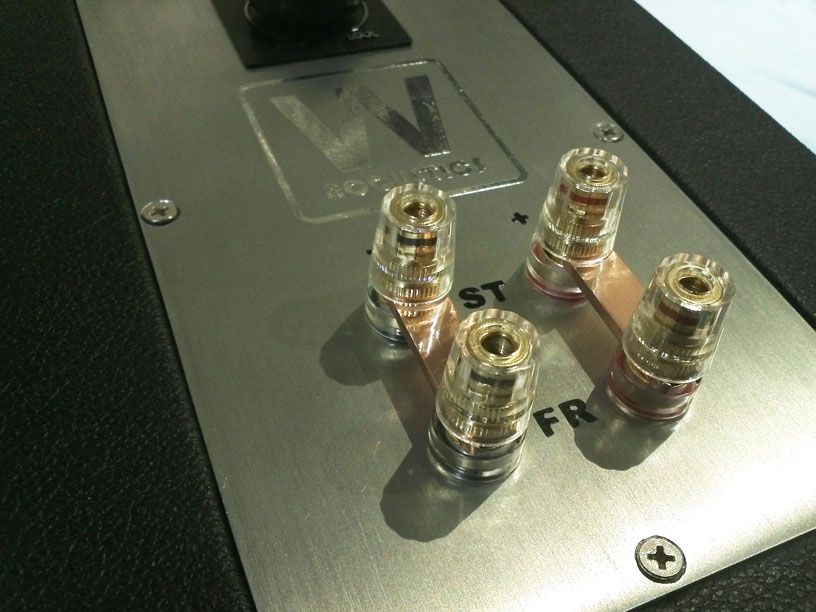
Pictures of the copper binding post attached to the speaker terminals:
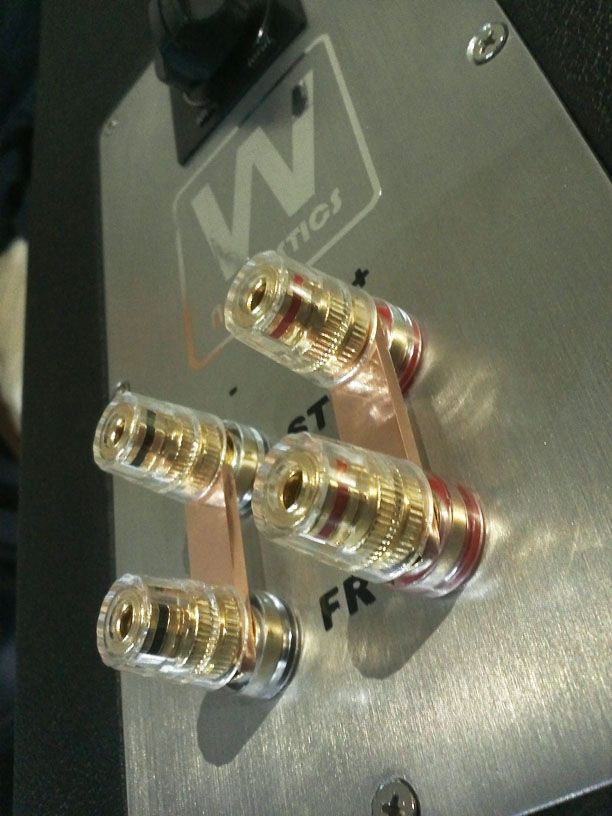
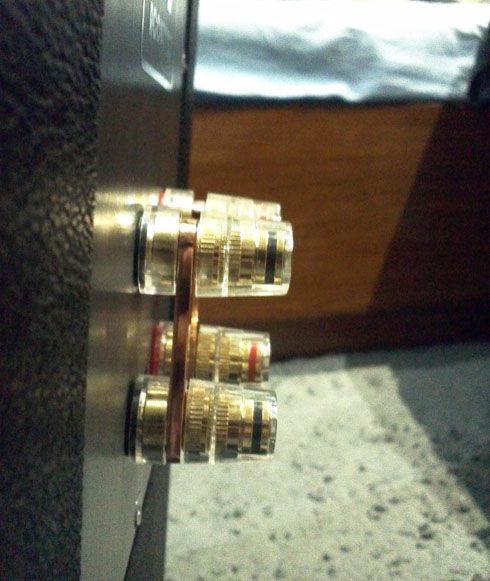
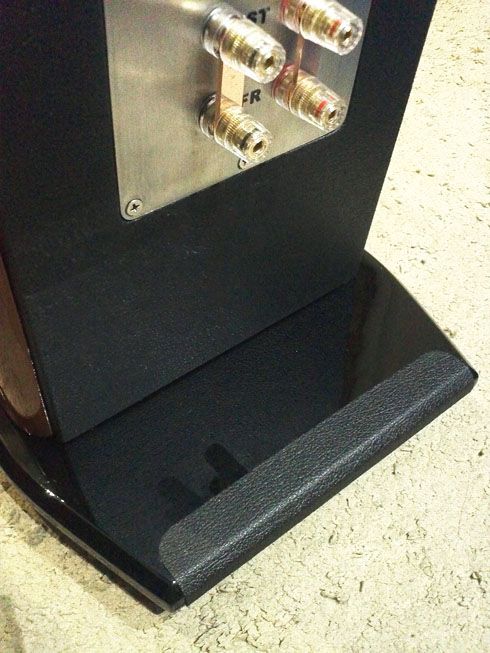
A leather accent has been attached at the back side of the baseplate to provide better aesthetic balance and cohesion of the enclosure theme:
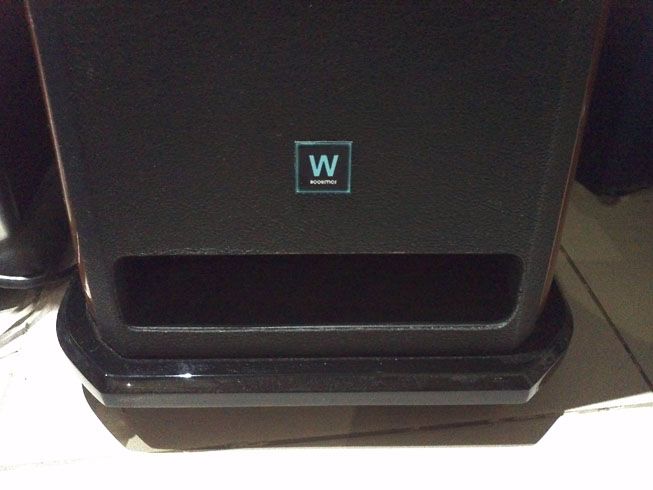
Next up: Upgrading the front logo. The old one is made from a printed sticker that doesn't that exactly fit the enclosure's classy design. It will be replaced by a more simple and appropriate logo:
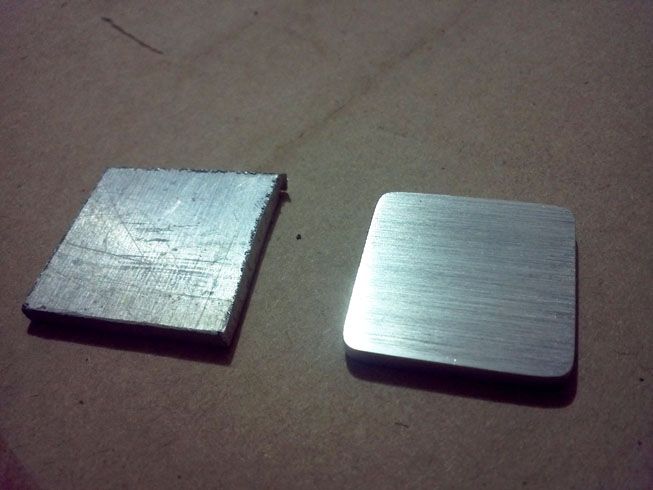
The cut aluminum will be trimmed to the exact size, then filed to clean up the edges, sanded to smoothen the surface, then sand brushed like what was done to the rear speaker terminal plate:

Here is the before and after pictures of the brushed aluminum logo platform:
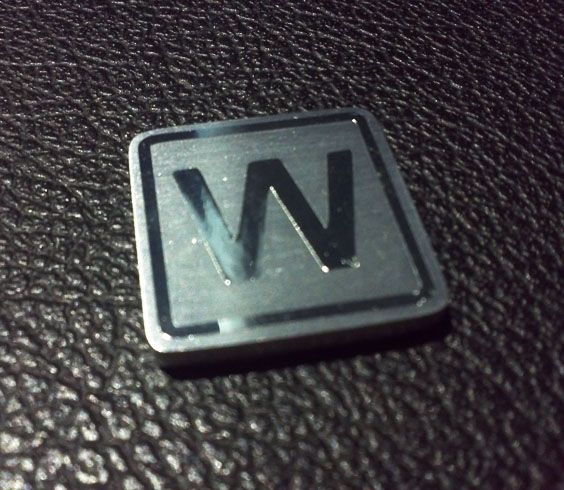
Chrome sticker placed to achieve the final finish:
 UPDATE:
 Unfortunately, as good as the brushed aluminum logo seems, it did not match with the enclosure and was too flashy (bright). I'll probably just use it for another project... sayang e.
So back to the drawing board!
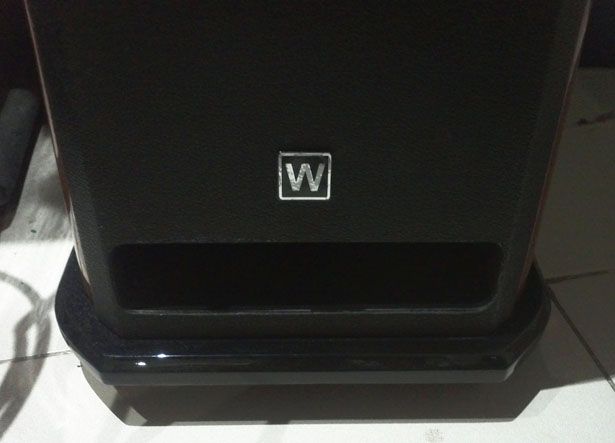
TARGET: The updated logo most not catch too much attention in the front part, and at the same time must still be noticeable as well as have a classy but modern design. So I cut up an aluminum square sheet as a base and sanded and filed it to size:
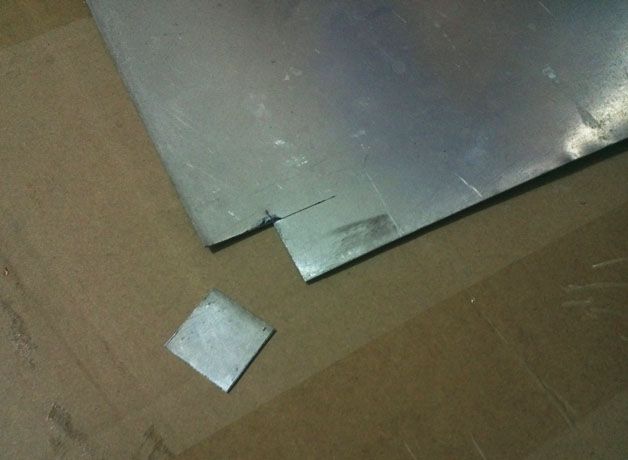
Cut aluminum sheet is then applied with carbon fiber sheeting and then with chrome logo:
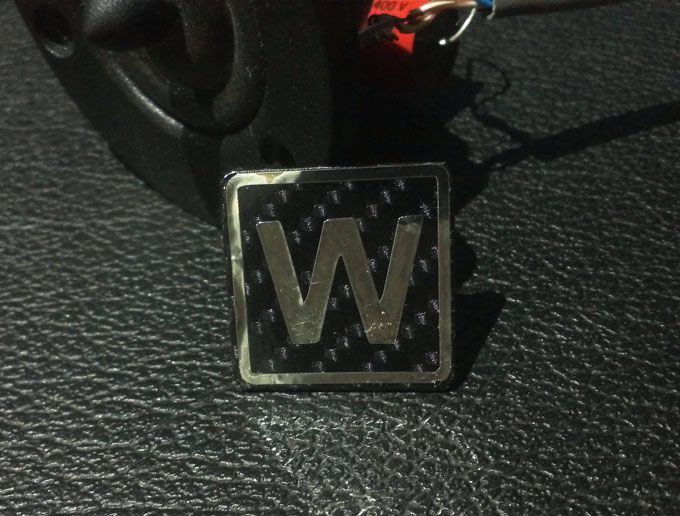
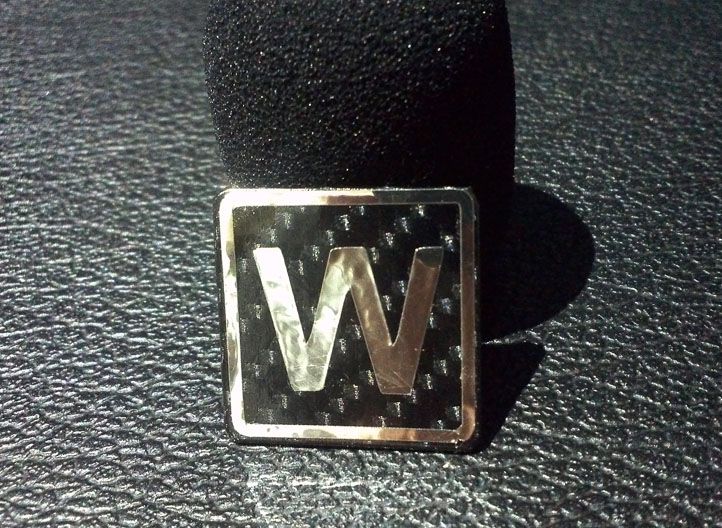
Another angle with light spotted onto logo:
That's better! Simple and classy (with a modern twist):
Thanks for viewing!
