Hey guys, searched this forum for this topic but it seems like there's none?
Anyway, been wanting to calibrate my 50" plasma since I bought it but can't get a hold of this disk till last thursday night. It was finally available on BestBuy near my place so I bit the bullet. ($35 for combo bluray is kinda expensive for me)
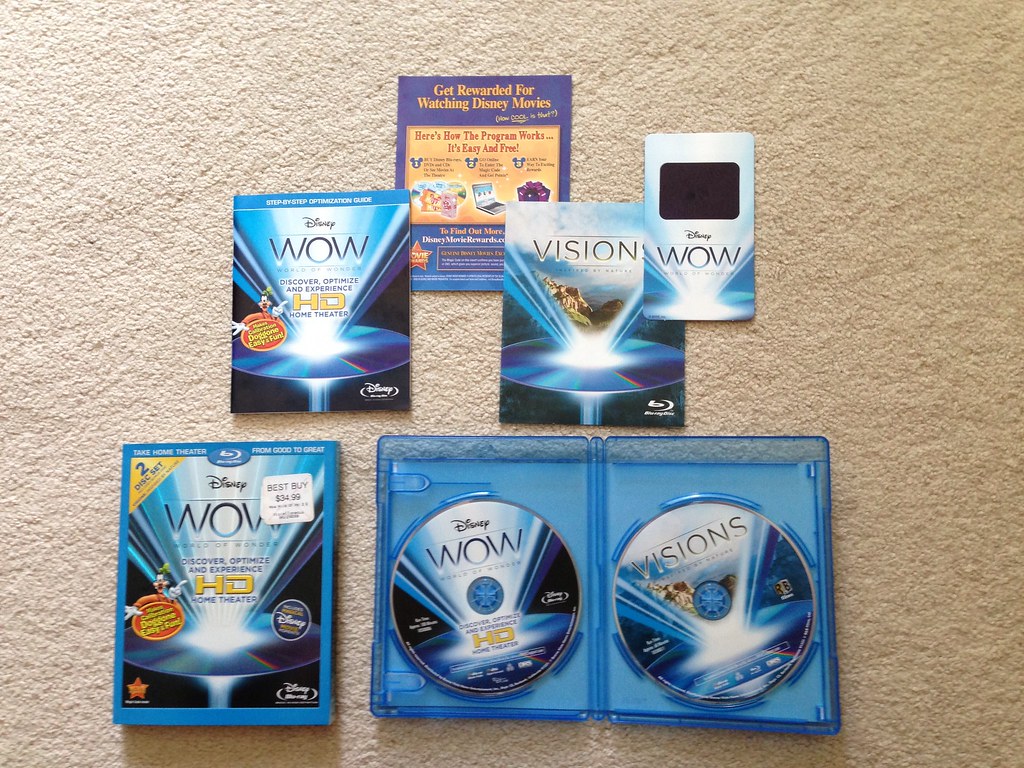
Here is the calibration disk:

Inside the package were two BD, instruction booklet, blue filter and some leaflets.
There's a Beginner and an Advanced setup for non-technical users and more savvy ones. Personally,even though i'm not a videophile I find the beginner setup lacking. With this setup, you'd barely notice the changes you made in your video display (projectors, LCD, plasma,LED can be calibrated with this disk) so i suggest having patience and going through the advanced setup to have your money's worth.
If you will play all descriptions and instructions of the whole setup, it will take you approximately 2 hours to finish so I skipped the introduction (which is mainly for super beginners) by Goofy. In the Optimize menu, you can skip the intro and jump to instructions immediately then calibrate now.
I also did not went through the audio calibration as I'm pretty happy with the Audyssey setup I did previously with my Onkyo 515.
Now, after almost 2 hours (1:30AM in our clock) I'm happy to see that the results were really noticeable. Well, maybe not Night and Day because flat screens nowadays have very good default setup out of the box. Having said that, I did make sure to take pictures before the calibration (and took note of the exact time in the BD player) so to make a side-by-side compare after the deal was done.
Photos are taken by an iPhone 5 without any filters nor post processing. These may not be tack sharp nor horizontally aligned but they're something hey!
So here they are:
Hansel and Gretel 1080p mkv fileBefore
After
Not so much here as the first photo was primarily blurred.
Before
After
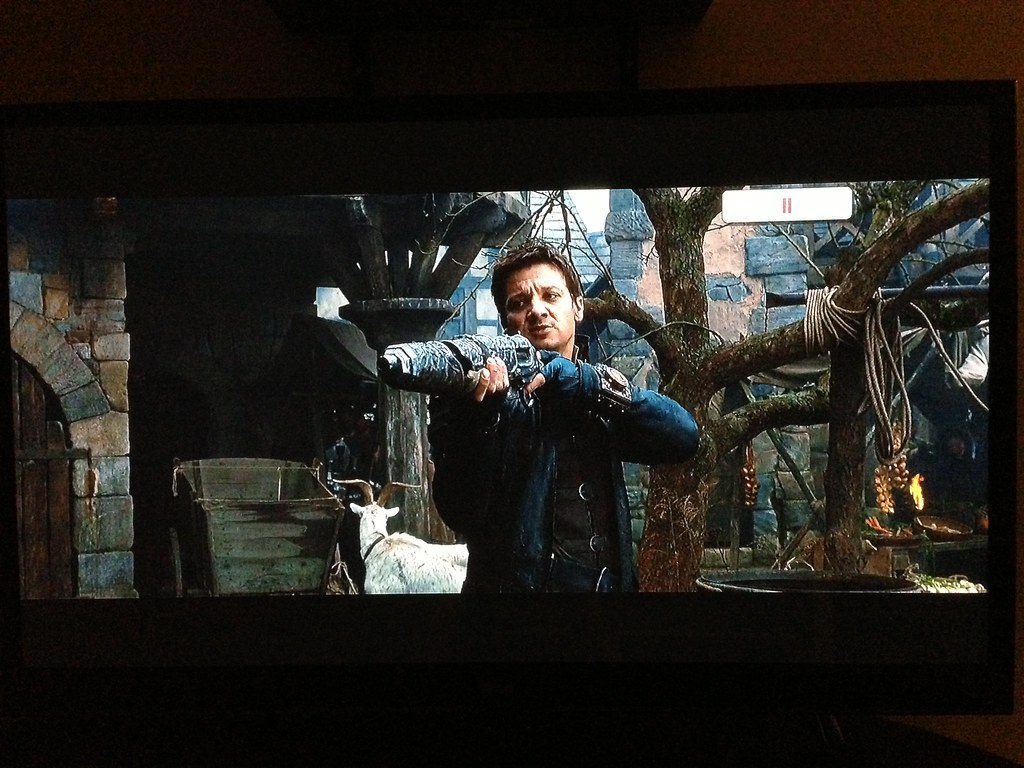
Notice the door frame on the left. The bricks has fuller colour and detail.
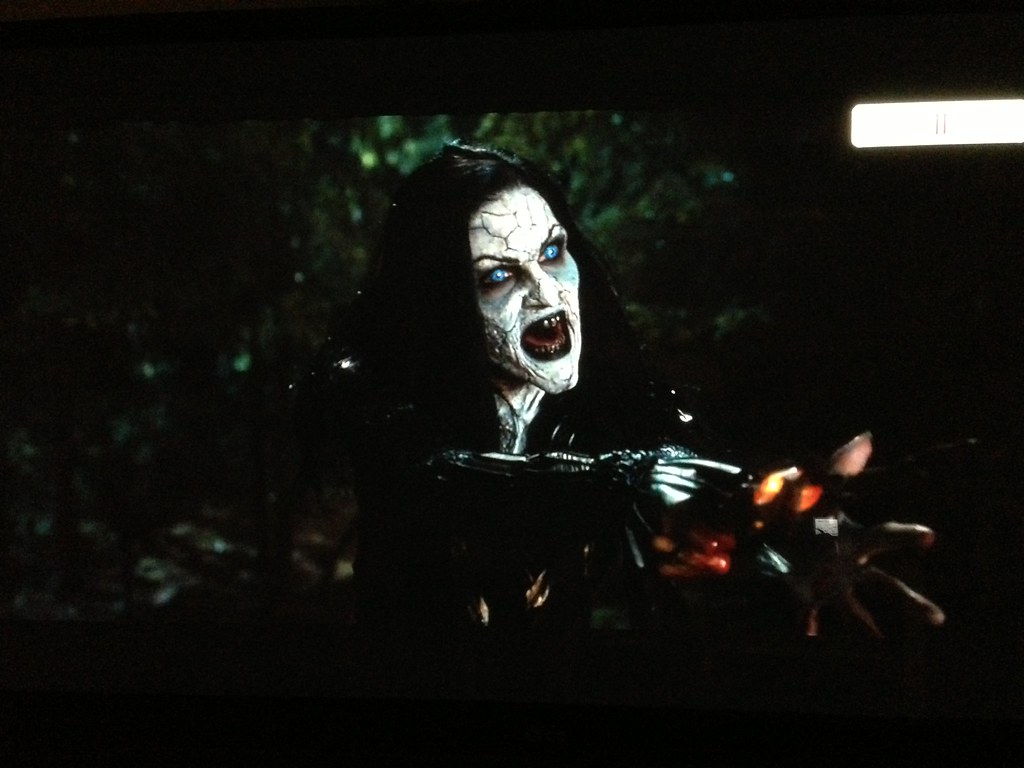
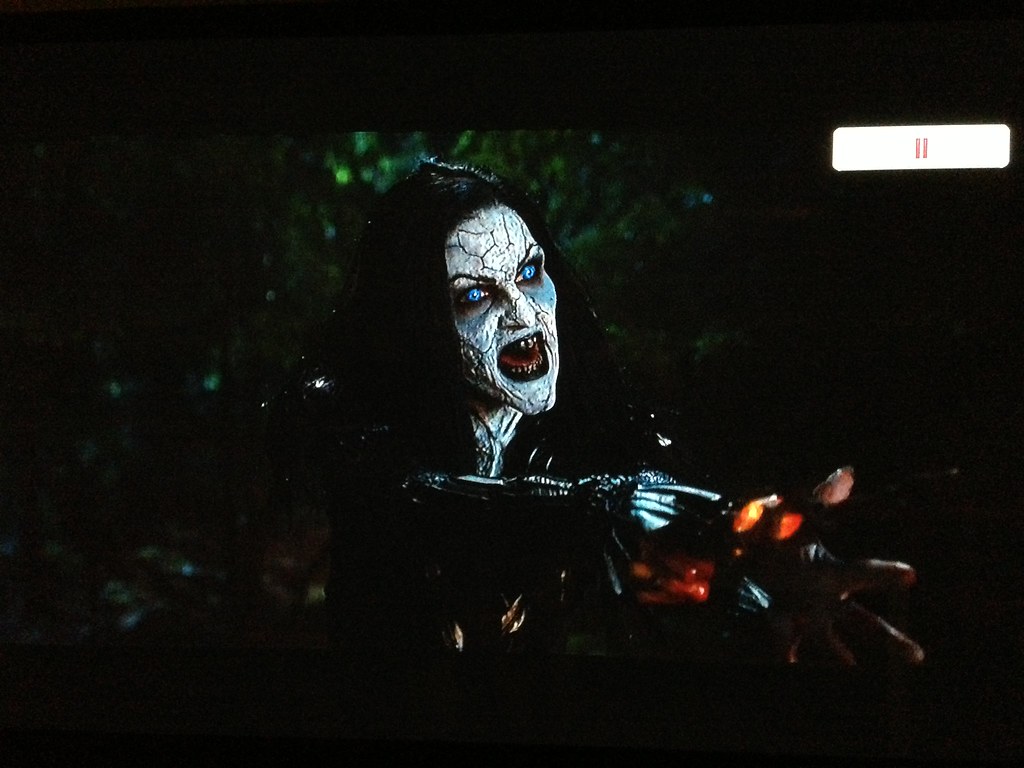
The Hobbit in BlurayBefore
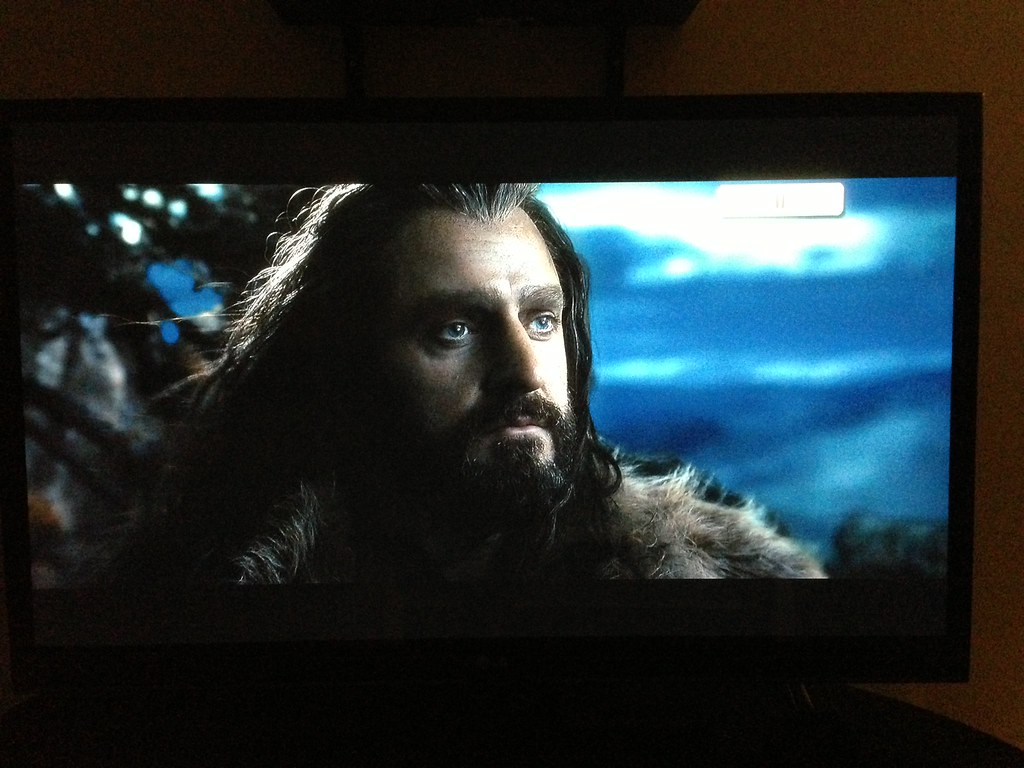
After
Contrast and clarity improvement are very evident here.
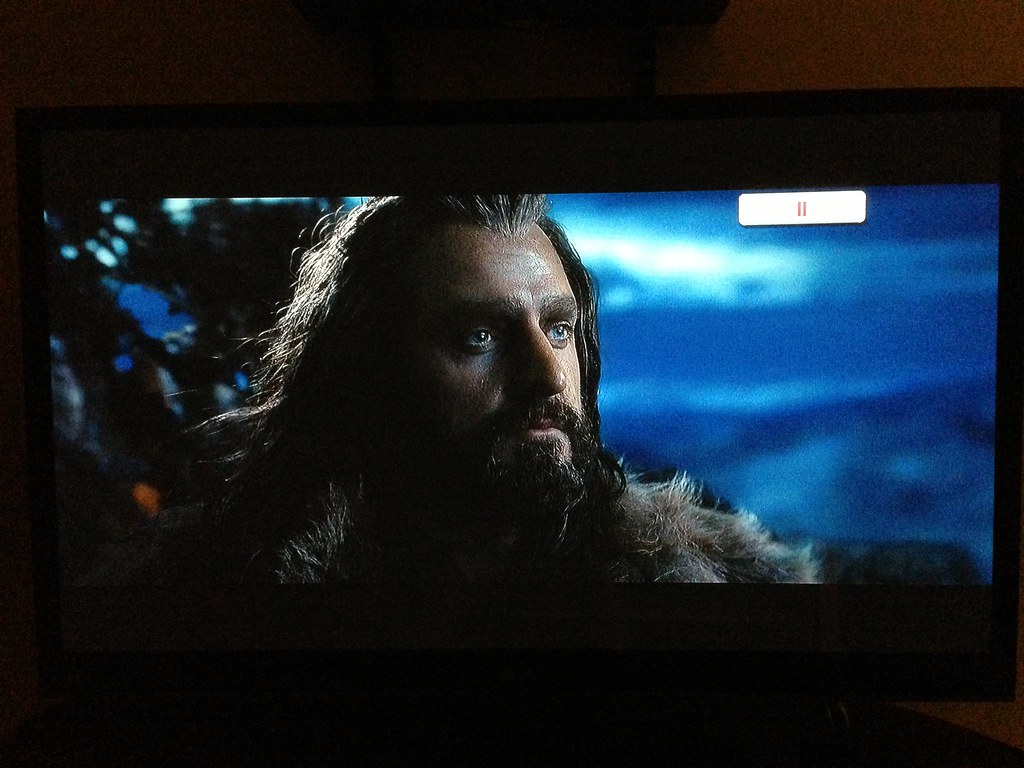
Before

After

The mountain in the right side of Smaug's face has more detail and tone, and was not blown/clipped.
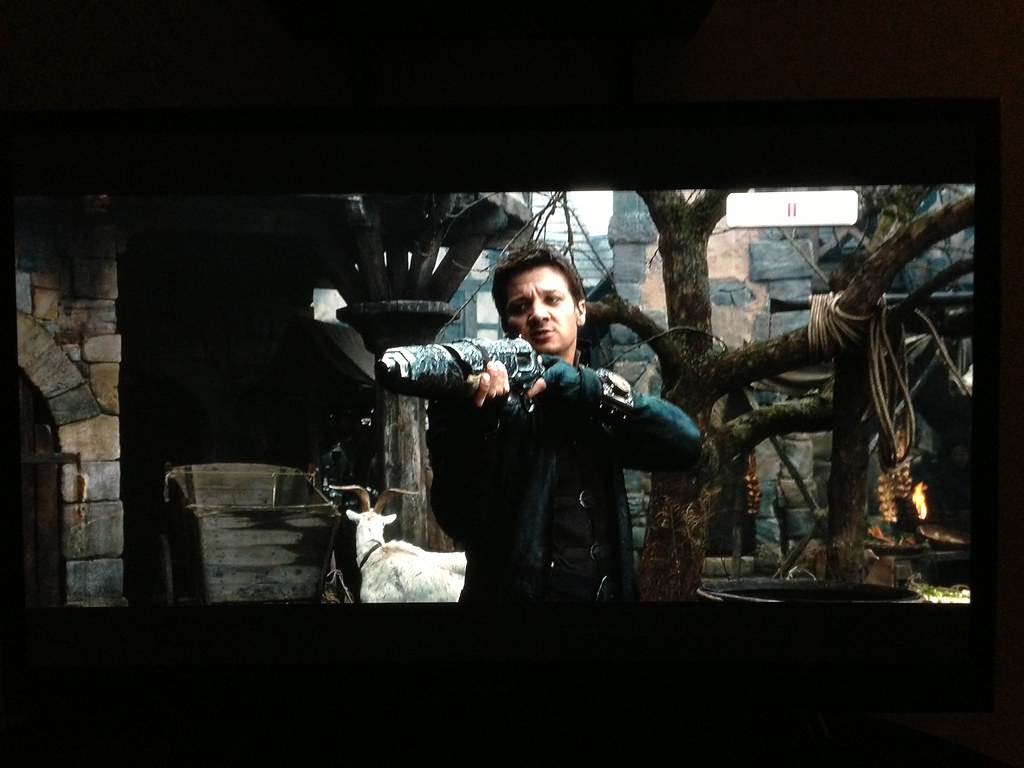
Oz the great and powerful 1080p MKV fileBefore
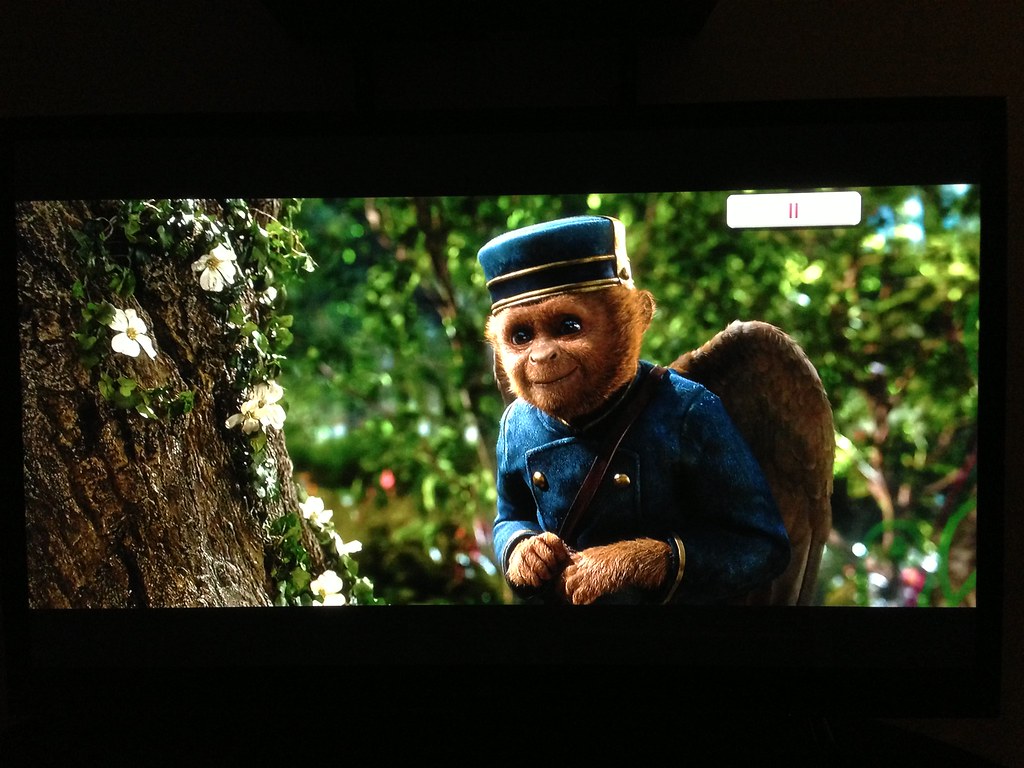
After
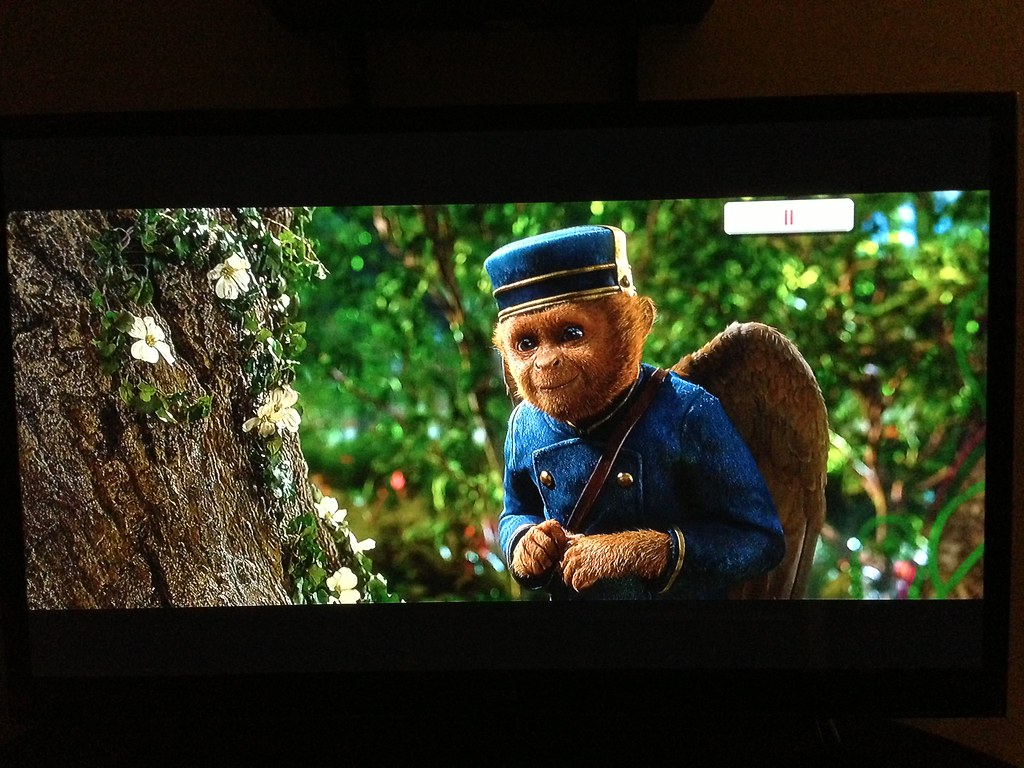
Mind the color and the details of the tree trunk on the left of the frame. Also, monkey's color is very lifelike on the after photo.
Overall, i'm pretty much happy with the calibration done. Might not get superior results, might did a few things less or more but at the end of the day it's what your eye believe that is good and what's good in your preference will definitely rock your boat.
And your couches


