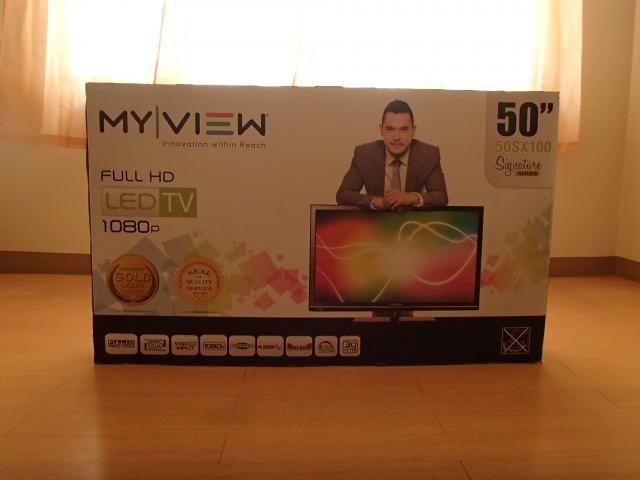
So I found time to focus on my new TV. I used to do a lot of "unprofessional" reviews for gadgets here in Pdvd when I was really active in the past, mostly gadgets from sir Jim aka toys4geeks and personal impressions of SVS speakers for sir Mike when it just came out.

So herewith is my unprofessional review of the MyView 50SX100 LED TV (Non-Smart). The whole purpose of which is to be able to provide and share to fellow members/enthusiasts some information about a common item we are interested in.
Disclaimer: I am in no way connected with MyView, its company and will not gain anything from this personal review of their product. I simply what to share.

UNBOXING
The units is well boxed and is opened by simply lifting its box cover.
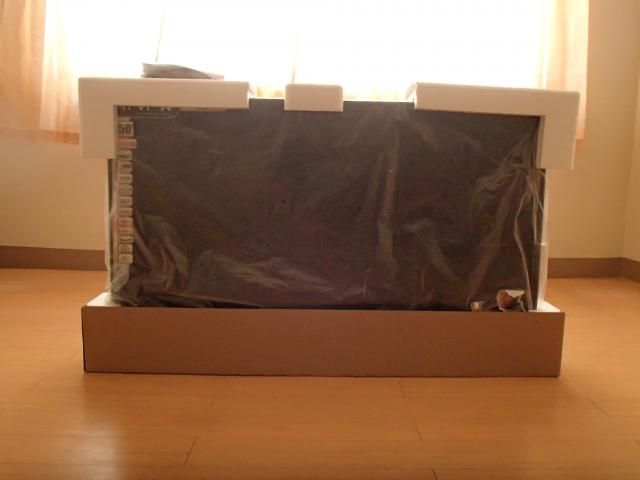
The base part remains where the unit stands sturdy on styrofoam support. On top of the unit is another set of styrofoam support to protect the top part. One of the styrofoam houses the stand to be attached to the base. The base is neatly packed at the back of the unit, together with the remote and the documents that come with it.
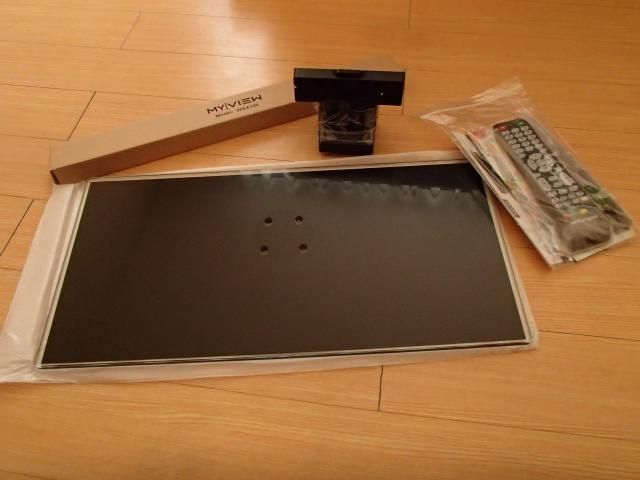
Herewith is the free wall bracket, the stand, the base, the remote, batteries and documents.
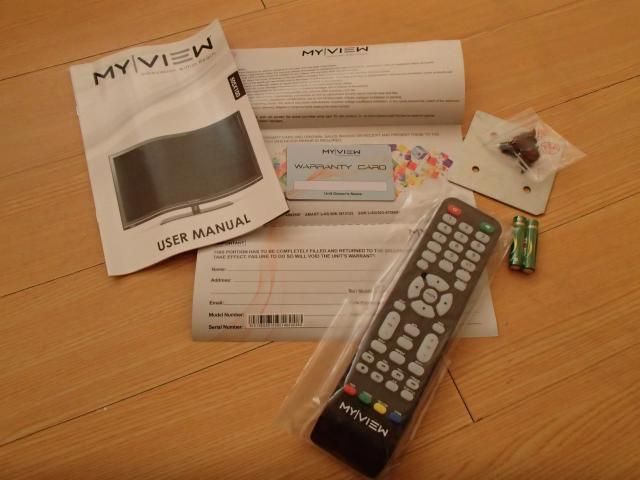
Above is the contents of the plastic zip lock bag containing the following: product manual, warranty card (credit card type), metal support for the base and stand with screws, the remote and the batteries.
ASSEMBLING THE STAND
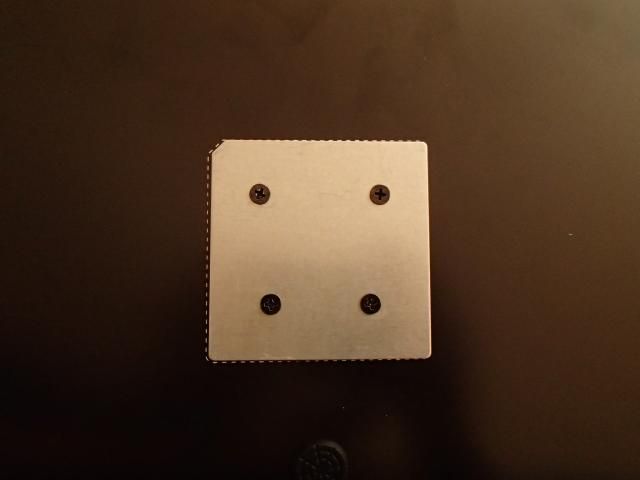
At the bottom of the base is a diagram to correctly position the metal support. Once in place, screw it in while the stand is attached on the opposite "top" side.
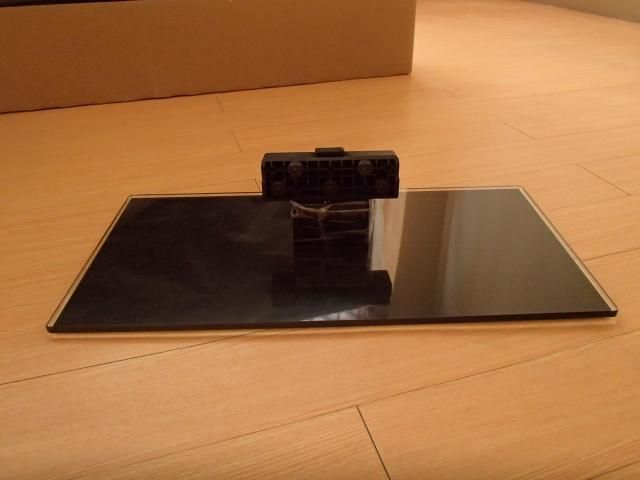
Image above shows how the stand looks once it's assembled.

Take you panel and mount it on top of the stand and secure it with the other set of screws that come with the accessories.
CONNECTIVITY
There are two locations situated for connectivity...
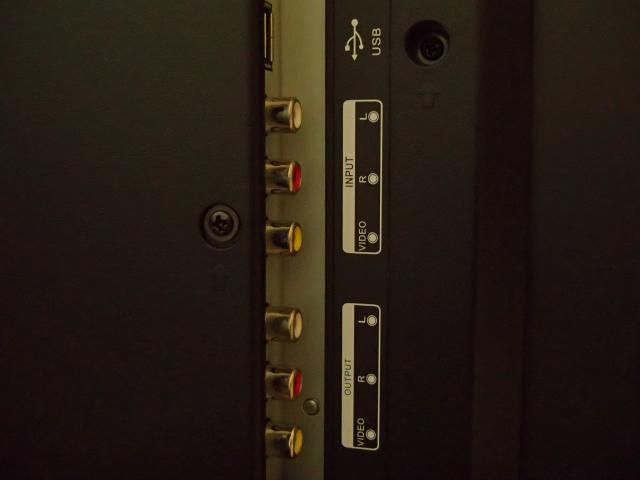
The above image is located at the right side when facing the panels back side. You will find 2 sets of RCA ports for composite video (yellow) and stereo audio (white and red) - one INPUT, one OUTPUT. You will also see the USB port to connect your external HD's to view your downloaded material.
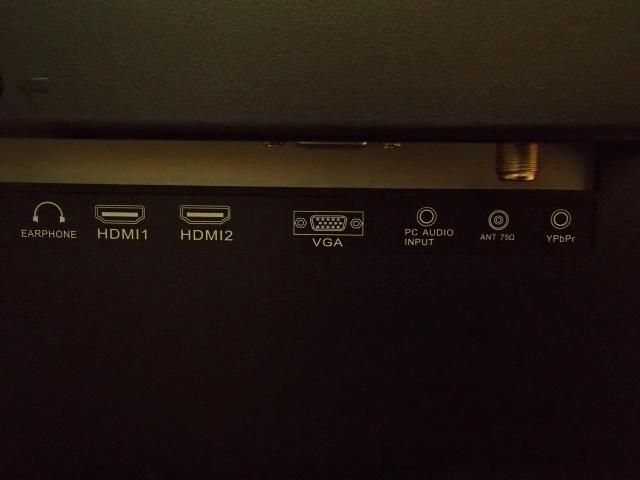
The second location can be found at the center of the back panel, near the bottom part. Here, you will find the following: Earphone port, HDMI1 & 2 ports, VGA port, PC Audio Input port, Antenna and YPBPR ports.
CALIBRATION
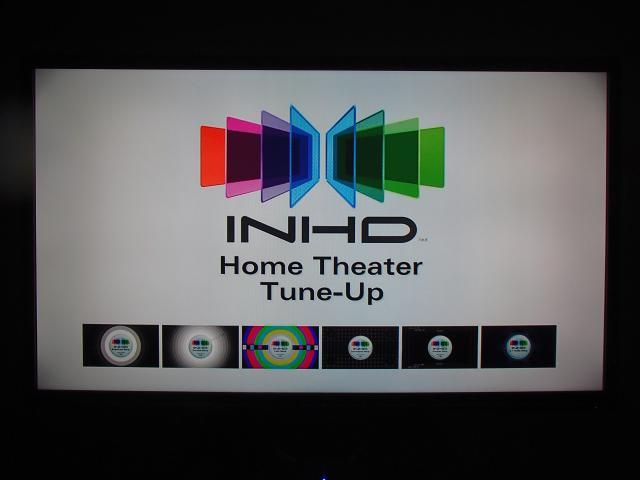
For calibrating the picture quality of the panel, I used my trusty INHD Home Theater Tune-up Guide as seen below:
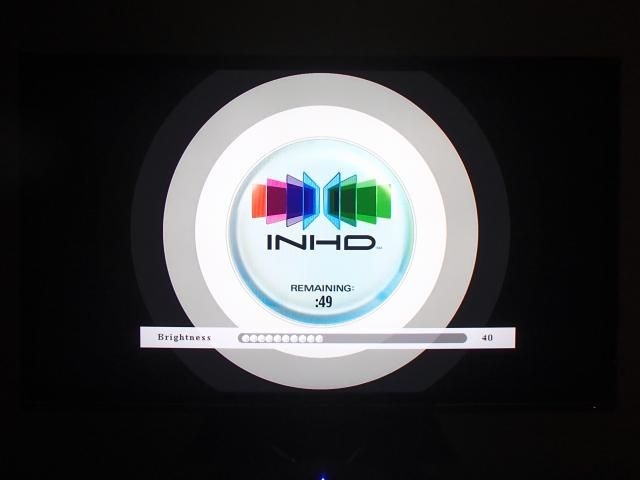
First setting: Brightness
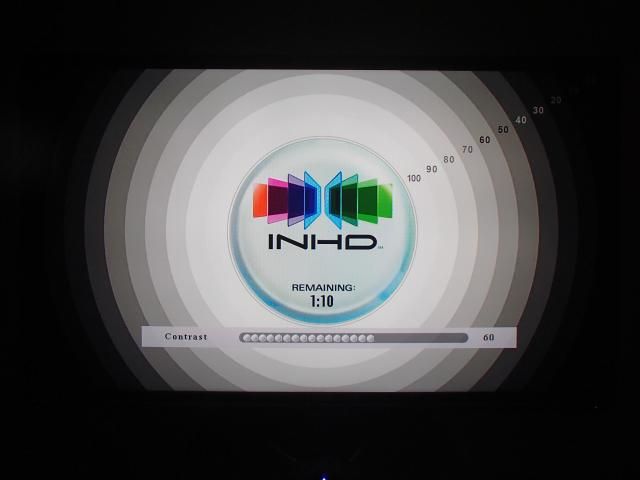
Up next: Contrast
Next: Color - I used my trusty THX Blue Filter Eye Glasses for this.


Next: Convergence - This is actually for projectors, I had no choice but to go thru it just the same. Its good to know that everything is in order by looking at the grid.

Finally: Overscan - Again, used for setting projectors, had to go thru it. At least, it did show me that my boarders are well proportioned.

SCREENSHOTS
I almost did not get the chance to take screenshots, as my cameras battery died down on me. Its charging now as I do this, and the first chance I get, I will take some more screenshots. But for now, here are two of them...


I hope this review helped you in anyway. If you have questions, feel free to ask. Cheers guys!
Impressions to follow....


