Hi guys. I've been a lurker since 2011, but I closely follow PinoyDVD threads to learn. Those who know me know that I was previously heavy into car audio. But I do have a simple 5.1 theater system in the bedroom my wife and I share.

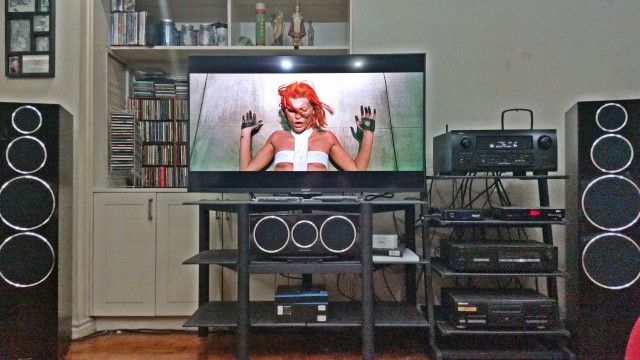 Above:
 Wharfedale 250 left and right speakers, 220C center channel, Denon AVR-4810 receiver and Sony 50-inch W600 TV. Media player is an old Xtreamer Sidewinder 3. Not in the photo are the left and right rear Wharfedale 220 speakers.
I'd like to share a recent build. This is a spare room at home that was turned into a music listening room. No video for now, just audio.
The room is small, 15ft x 15ft with a 12ft ceiling. All walls are concrete. The ceiling is concrete. The floor is wood parquet over concrete. Definitely not ideal acoustically. So early on, it was decided to divert funds for acoustic treatments into building a "ROOM WITHIN A ROOM."
The first benefit is the ratio of length x width x height could now be made more acoustically friendly, and room modes plus standing waves would be more predictable and thus easier (less costly) to treat.
The second benefit is soundproofing. A "room within a room" whose walls are filled with sound absorbent material easily lowers the noise floor 30dB, making it easier to hear quiet portions in music and enhancing the listening experience.
The third benefit is again soundproofing. High or loud listening levels will be kept inside the room and will not bother those outside.
Here are some photos:
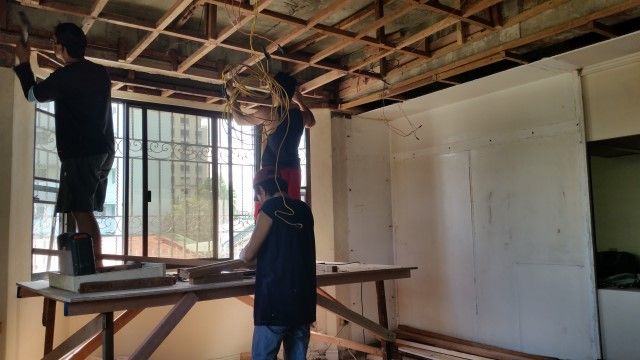
Above: The room is a square, so we tore down the old walls and ceiling to check the electricals and resize the room. Create a room-within-a-room with dimensions that were more acoustically friendly.
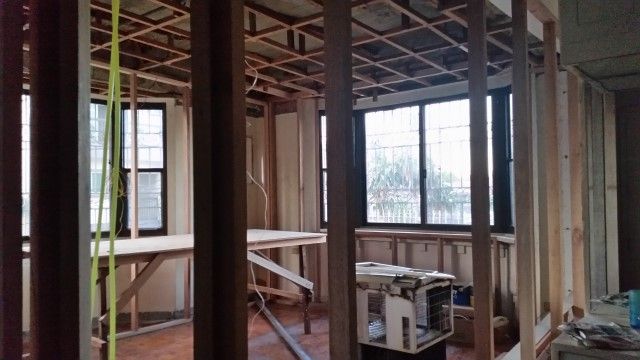
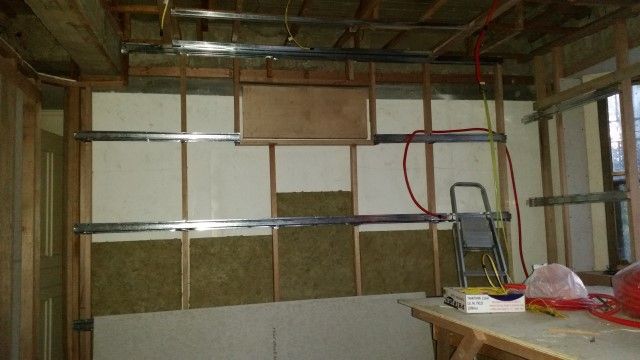
Above: Vertical wooden joists spaced 2-feet apart. Rockwool insulation will be placed between those joists for soundproofing.
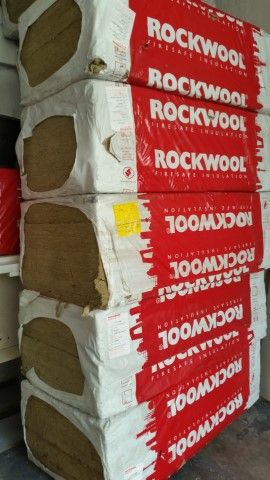
Above: Lots of Rockwool purchased for the build.
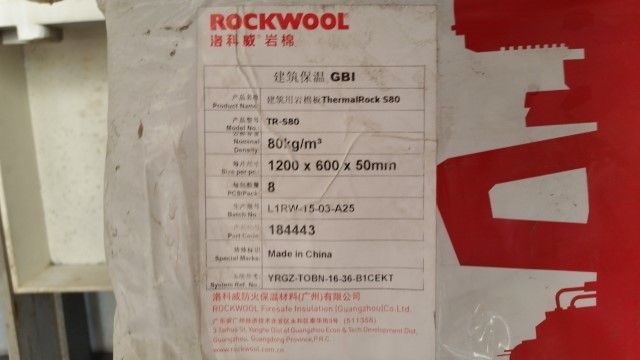
Above: This is the dense kind of Rockwool. There is something denser, 100kg/m3, but is a bit harder to find. 80kg will do.
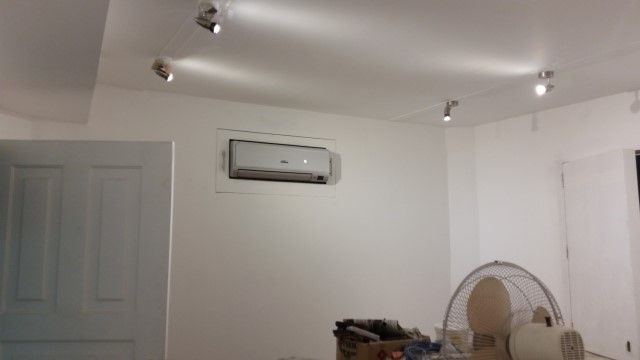
Above: A split-type inverter A/C will is mounted on an acoustically separate platform. Any vibrations from it will not go into the walls of the listening room.
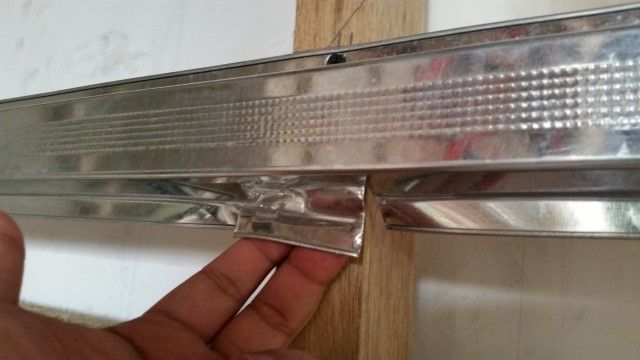
Above: A regular "HAT" channel is turned into "resilient" channel by trimming off one side of the "hat." The black dot on top is a wood screw that fastens it to the vertical joists. The rest of the channel is free to absorb vibrations. Hardieflex drywall will be screwed into the flat portions of the channels, avoiding the joists.
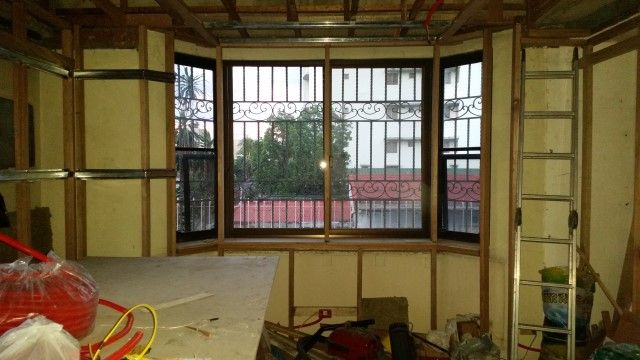
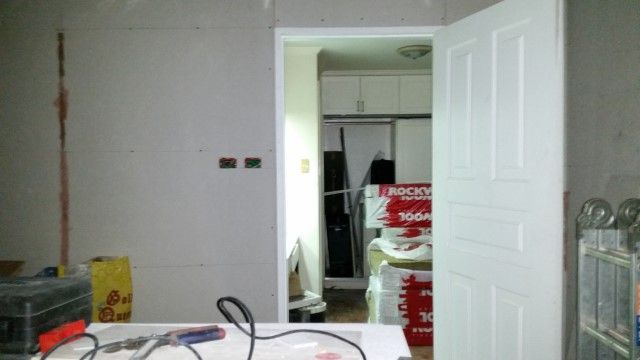
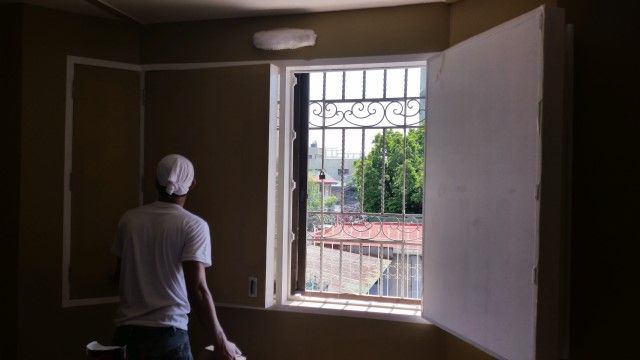
Above: More joists and hat channels going up. Those windows have big gaps that let sound through and need to be sealed. So new doors will be built over them.
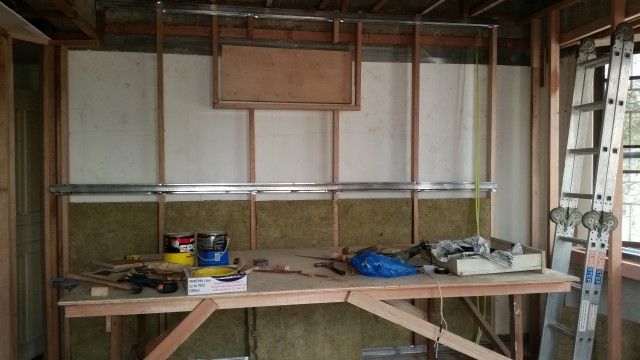
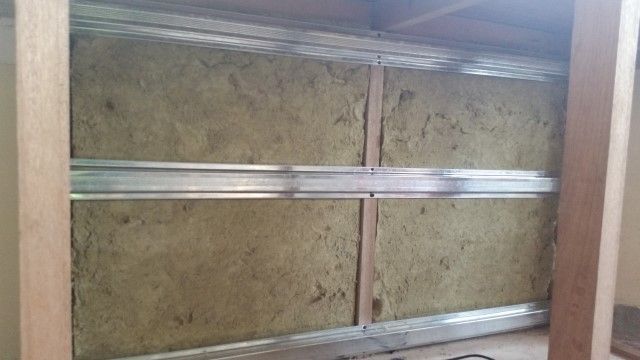
Above: Rockwool insulation going into the walls. These are not fastened, but are simply fitted between the joists. Air spaces in front of and behind the Rockwool help sound isolation.
Above: Rockwool insulation between ceiling joists. For the ceiling, no trimming was done on the HAT-resilient channels, as they needed to support the weight of the Hardieflex drywall.
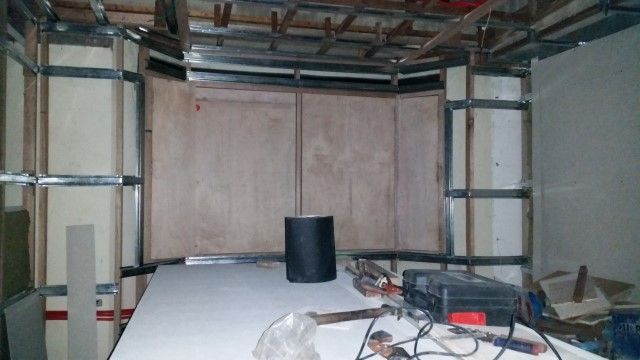
Above:New doors covering the windows and more HAT-resilient channels have gone up. Rockwool will go between the joists before being covered up with Hardieflex.
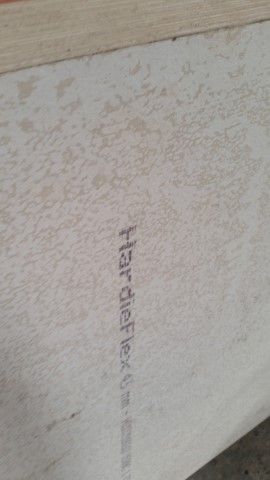
Above: The Hardieflex drywall is thin on purpose because the room is small. Rigid walls are good for big rooms like 20ft x 30ft, but in my small 14ft x 11ft room, 4.5mm-thick Hardieflex on the walls and ceiling will flex and act as quasi-bass traps. So essentially, all walls are bass traps. Not as effective as purpose-built traps, but conserves space.
Above: This is the new entrance into the room. More Rockwool is waiting outside, to be placed inside the walls is via a solid door. Not made of wood, but of Versaboard. It can be sanded and painted just like wood, but is actually made from sandwiched layers of PVC plastic. Damping is excellent. They do not "ring" when knocked. More information on Versaboard doors here:
http://www.stjosephtrdg.com/versaboard-pvc-foamboards-and-versa-solid-pvc-doors-and-jambs/versa-solid-pvc-doors-and-jambs/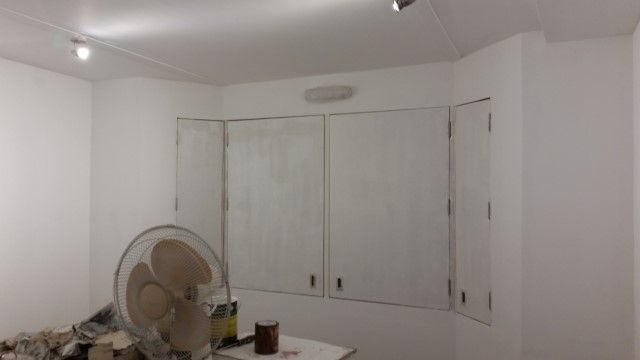
Above: Hardieflex drywall has gone up, with white primer. Dimmable LED spotlights have already been wired-in.
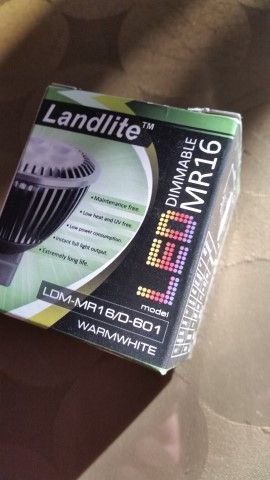
Above: Here is one of the dimmable LED spotlight used in the room. I got it from Wilcon Builders. The electrical circuit they are on is separate from audio mains.
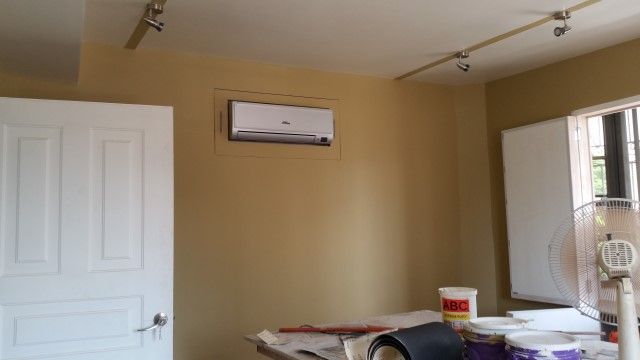
Above: There is a "beauty board" with handles over the A/C. It is easily removed in case the A/C needs cleaning or servicing. On the right side of the photo is one of the new window doors ajar. You can see how thick it is. It is 4-inches thick, just like the wall it is mounted on, also with Rockwool insulation inside.
Above: Here's a better view of the door that covers the glass windows. Those white thingies on the jamb are magnets. We used many of them to keep the foam weatherstrip seals in contact with each other. Gaps in the door and jamb allow sound through. Strips of foam rubber are on all mating surfaces so there are no gaps. But foam weatherseals are elastic, so lots of magnets were used. It actually takes quite some force to open the door with all those magnets in place.
Oh and that white thing over the doors is an LED emergency light, In case there is a brownout, it automatically switches on.
Above: Finally some color on the walls. That electric fan stayed on for several days to ventilate the room.


